> ## Documentation Index
> Fetch the complete documentation index at: https://docs.superun.ai/llms.txt
> Use this file to discover all available pages before exploring further.

# style轉換

> 了解如何使用 Prompt.to.design 中的style轉換功能,將現有 Figma Frame的設計style應用到新佈局中.

style轉換允許您**生成全新的頁面**,同時**保持現有 Figma Frame的視覺style**.\
AI 將匹配所選Frame的color,排版,間距和佈局模式.

當您希望新頁面立即匹配文件中已有的設計系統時,請使用**樣式轉移**.

***

## 1. 選擇 **style轉移** 選項Card

打開 **Prompt.to.design** 插件,然後點擊頂部的 **Style Transfer** 標籤.\
此模式允許您選擇現有Frame作為視覺參考.
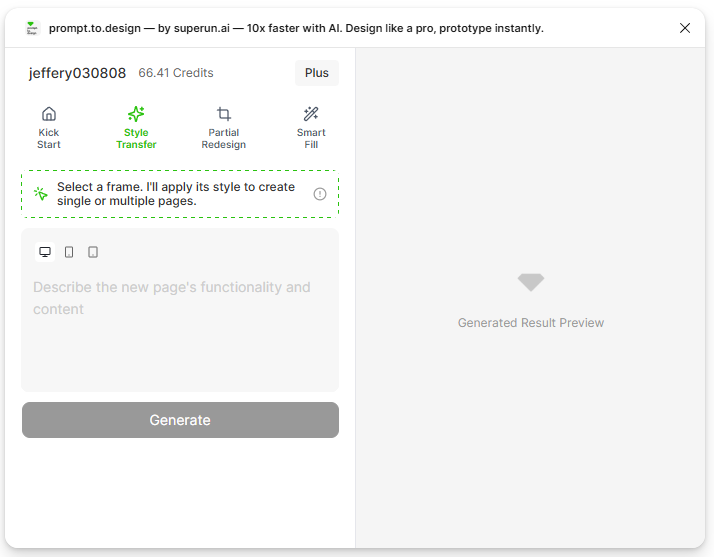
<img src="https://mintcdn.com/uxarts/RSHYLU0ts6AvUQJp/images/style-transfer/1.png?fit=max&auto=format&n=RSHYLU0ts6AvUQJp&q=85&s=f7fdd787ee8715c6dd577c46c97eac29" alt="Open the plugin and select the Style Transfer tab" width={700} data-path="images/style-transfer/1.png" />

***

## 2. 選擇一個Frame作為您的style參考

在您的 Figma 畫布上,點擊任何具有您想要重用的style的現有Frame.\
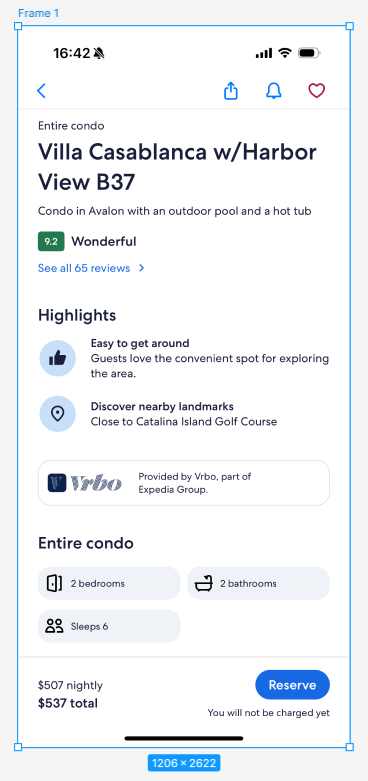
這個Frame將成為您的**style參考**,它的color,排版,間距和組件模式將指導生成.

<img src="https://mintcdn.com/uxarts/RSHYLU0ts6AvUQJp/images/style-transfer/2_A.png?fit=max&auto=format&n=RSHYLU0ts6AvUQJp&q=85&s=47e1841426f829000740ef58c8559cd6" alt="單擊一個Frame以設置為樣式參考" width={600} data-path="images/style-transfer/2_A.png" />

<img src="https://mintcdn.com/uxarts/I3JOnALDZ5tIGfai/images/style-transfer/2_referenceframe.png?fit=max&auto=format&n=I3JOnALDZ5tIGfai&q=85&s=6dcceb06862594d1e5591fab2fc82c75" alt="選定的Frame用作樣式參考" width={300} data-path="images/style-transfer/2_referenceframe.png" />

***

## 3.描述你想要生成的新頁面

輸入您想要的新頁面佈局的**簡短描述**.\
AI 將使用所選Frame的樣式生成頁面結構.

提示示例:

> "生成酒店評論詳細Info頁面,包括帶有圖像和評級的評論."
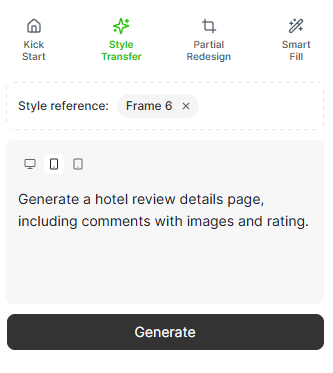
<img src="https://mintcdn.com/uxarts/RSHYLU0ts6AvUQJp/images/style-transfer/3.png?fit=max&auto=format&n=RSHYLU0ts6AvUQJp&q=85&s=9db02e254f28919c589a9b0129472abb" alt="輸入新頁面的提示,同時保持所選的style" width={350} data-path="images/style-transfer/3.png" />

***

## 4. 單擊 **生成** 並查看預覽

單擊 **生成** 開始設計新頁面的樣式.\
當預覽出現時,您可以滾動或縮放以檢查 AI 生成的佈局.
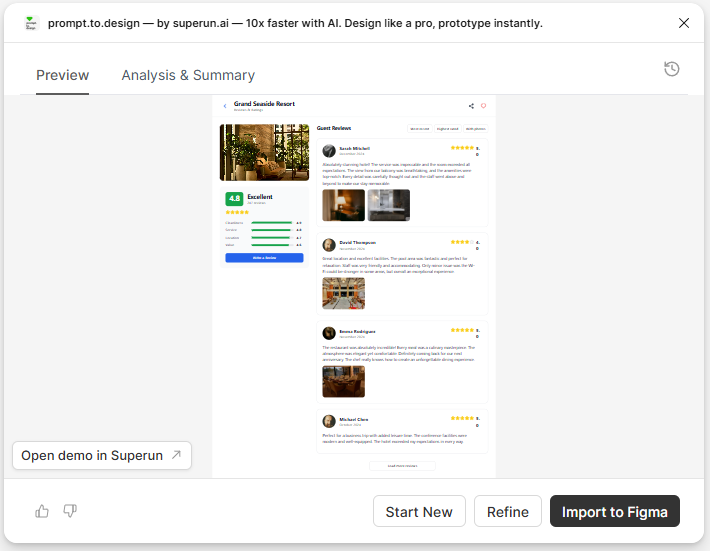
<img src="https://mintcdn.com/uxarts/I3JOnALDZ5tIGfai/images/style-transfer/5.png?fit=max&auto=format&n=I3JOnALDZ5tIGfai&q=85&s=2b22a0c0e7cd98f592d8bf2bf64d144d" alt="查看生成的頁面預覽" width={700} data-path="images/style-transfer/5.png" />

***

## 5. 將樣式化的佈局插入 Figma

點擊 **Insert to Figma** 將生成的頁面放置到您的畫布中.\
將出現一個新Frame,與您選擇的參考Frame樣式一致且完全可編輯.
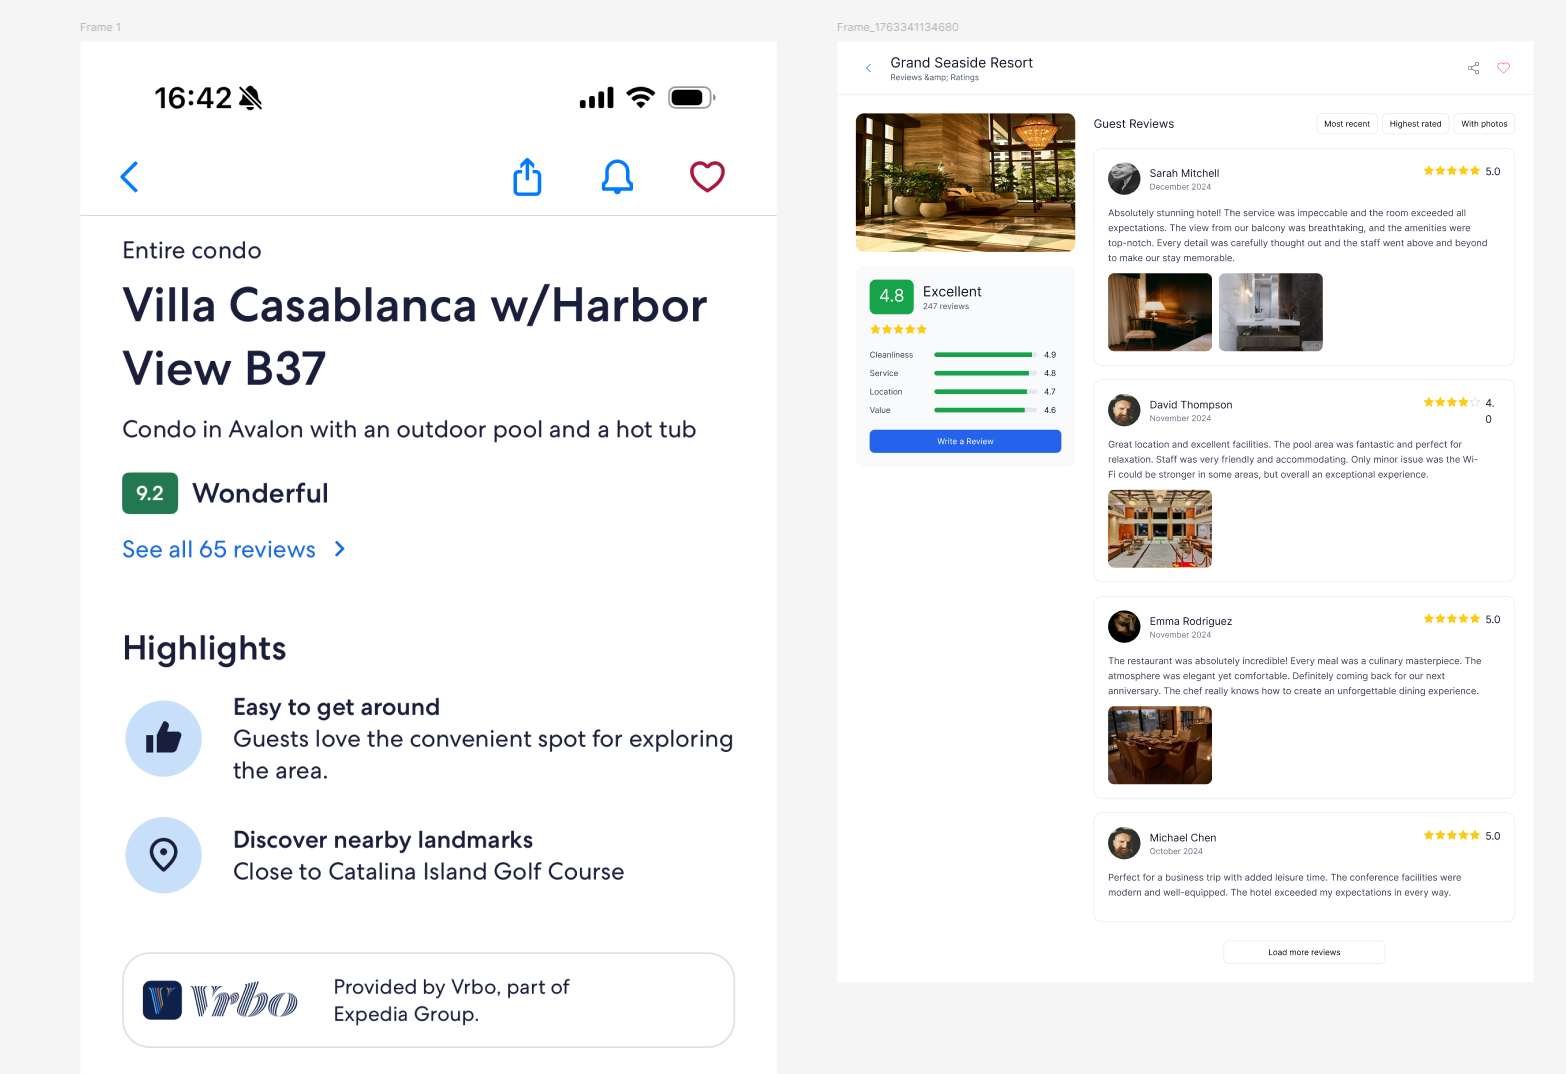
<img src="https://mintcdn.com/uxarts/vtpZBubVOPl7lv2-/images/style-transfer/6.png?fit=max&auto=format&n=vtpZBubVOPl7lv2-&q=85&s=3bed10328b0d82e1418662bfcc2e394c" alt="將style化的佈局插入 Figma 作為新的可編輯Frame" width={700} data-path="images/style-transfer/6.png" />

***

## 概括

通過style遷移,您可以:

* 立即重用現有頁面的視覺樣式
* 保持color,字體,間距和 UI 元素一致
* 生成與您的設計系統相匹配的新頁面
* 節省手動調整視覺細節的時間

樣式傳輸非常適合在同一產品中構建多個頁面或在不同內容類型中重複使用強大的視覺樣式.

<div
  style={{
marginTop: '2rem',
display: 'flex',
justifyContent: 'center',
}}
>
  <a
    href="https://www.Figma.com/community/plugin/1528325292196938261/prompt-to-design-by-superun-ai-10x-faster-with-ai-design-like-a-pro-prototype-instantly"
    style={{
  backgroundColor: '#0F172A',
  color: 'white',
  padding: '12px 28px',
  borderRadius: '8px',
  fontSize: '16px',
  fontWeight: '600',
  textDecoration: 'none',
  boxShadow: '0 4px 12px rgba(0,0,0,0.08)',
  transition: 'all 0.2s ease',
}}
    onMouseOver="this.style.backgroundColor='#1E293B'"
    onMouseOut="this.style.backgroundColor='#0F172A'"
  >
    開始使用 Prompt.to.design 設計
  </a>
</div>