> ## Documentation Index
> Fetch the complete documentation index at: https://docs.superun.ai/llms.txt
> Use this file to discover all available pages before exploring further.
# 部分重新設計
部分重新設計可讓您更新Frame的**一個特定區域**,而不影響佈局的其餘部分.\
當您想要刷新Card片,重新設計某個部分或探索變化同時保持頁面結構完整時,這非常有用.
***
## 1. 選擇 **部分重新設計** 選項Card
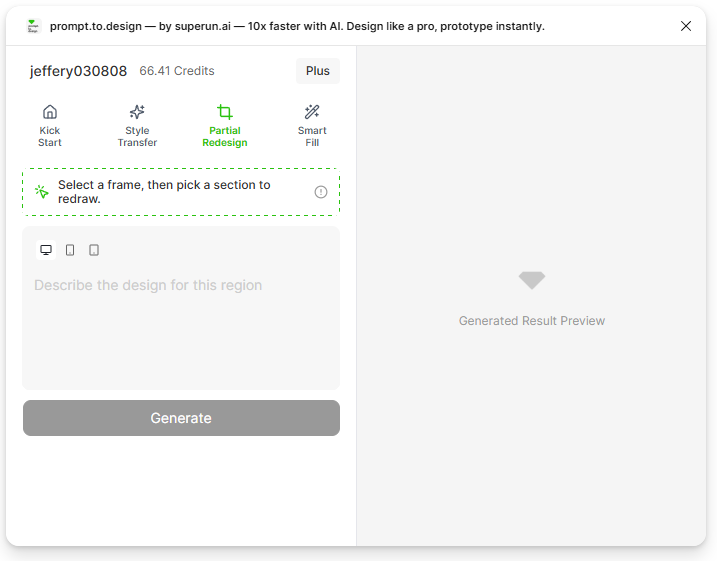
打開 **prompt.to.design** 插件並點擊 **Partial Redesign** 標籤.\
此模式允許您在Frame內選擇現有區域並僅重新生成該部分.
 ***
## 2. 選擇包含要重新設計的區域的Frame
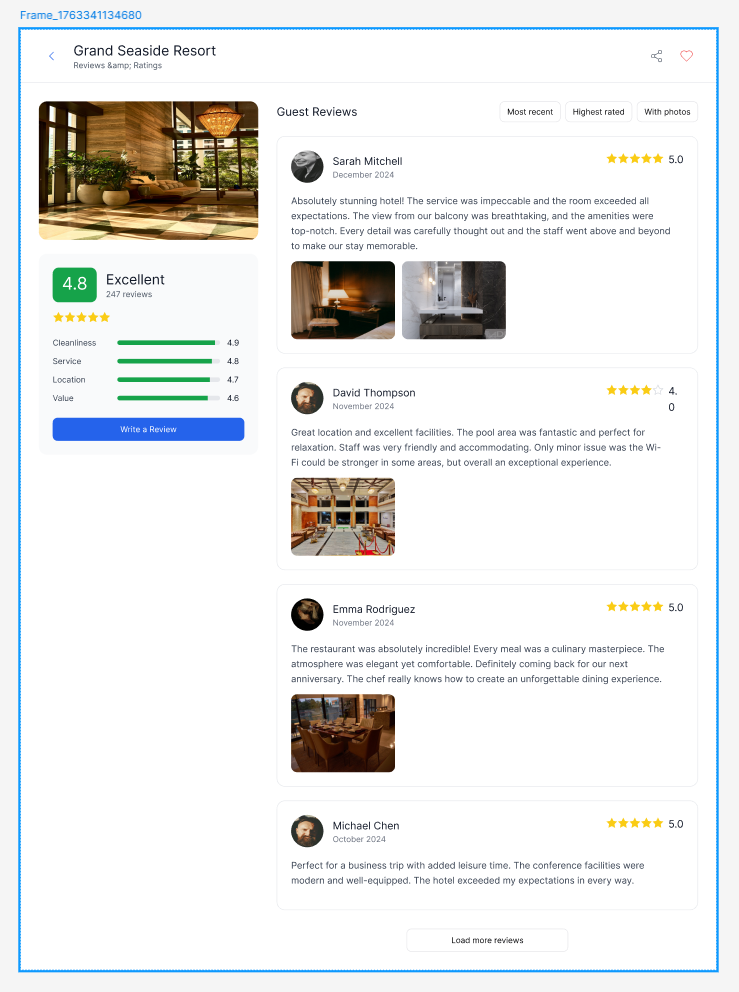
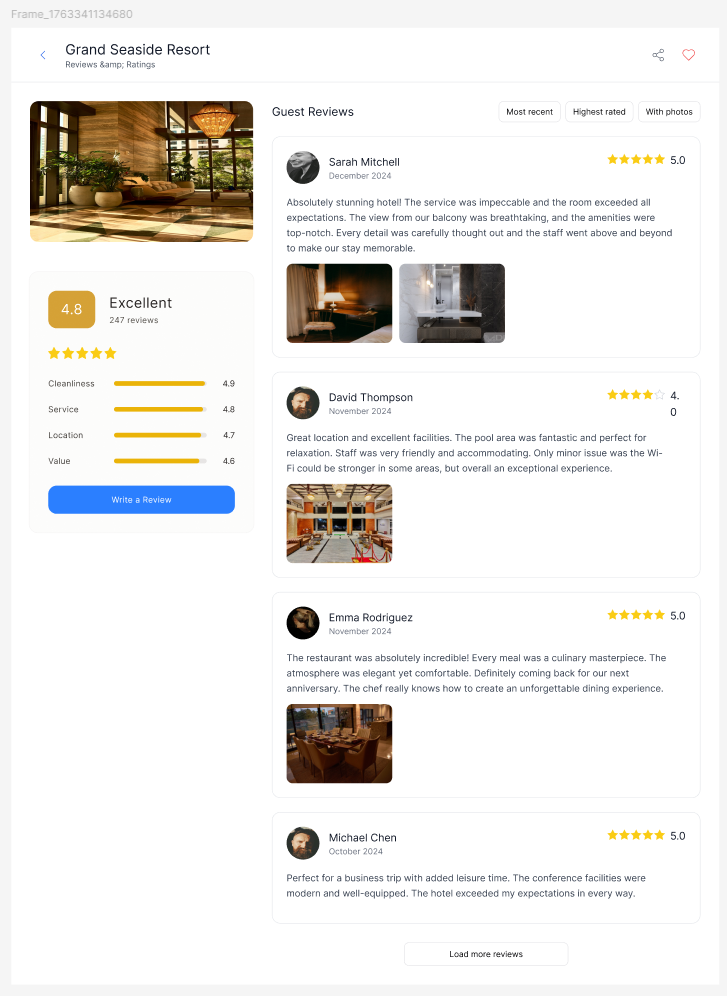
首先,您必須在 Figma 畫布上選擇整個 **Frame**.\
在您選擇特定區域之前,插件需要知道您想要在哪個頁面中工作.
### 為什麼這一步很重要:
* 區域重新設計**僅在首先選擇Frame時有效**
* 如果沒有選擇Frame,插件無法進入區域選擇模式
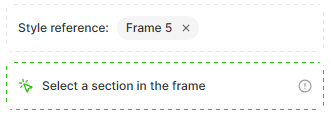
* 選擇Frame後,插件將display消息:\
**"在Frame中選擇一個區域"**
***
## 2. 選擇包含要重新設計的區域的Frame
首先,您必須在 Figma 畫布上選擇整個 **Frame**.\
在您選擇特定區域之前,插件需要知道您想要在哪個頁面中工作.
### 為什麼這一步很重要:
* 區域重新設計**僅在首先選擇Frame時有效**
* 如果沒有選擇Frame,插件無法進入區域選擇模式
* 選擇Frame後,插件將display消息:\
**"在Frame中選擇一個區域"**

 ***
## 3. 選擇Frame內的區域
選擇Frame後,單擊要重新設計的特定區域 - 例如Card片,部分或內容塊.
***
## 3. 選擇Frame內的區域
選擇Frame後,單擊要重新設計的特定區域 - 例如Card片,部分或內容塊.
 ### 推薦方法(特別適合初學者):
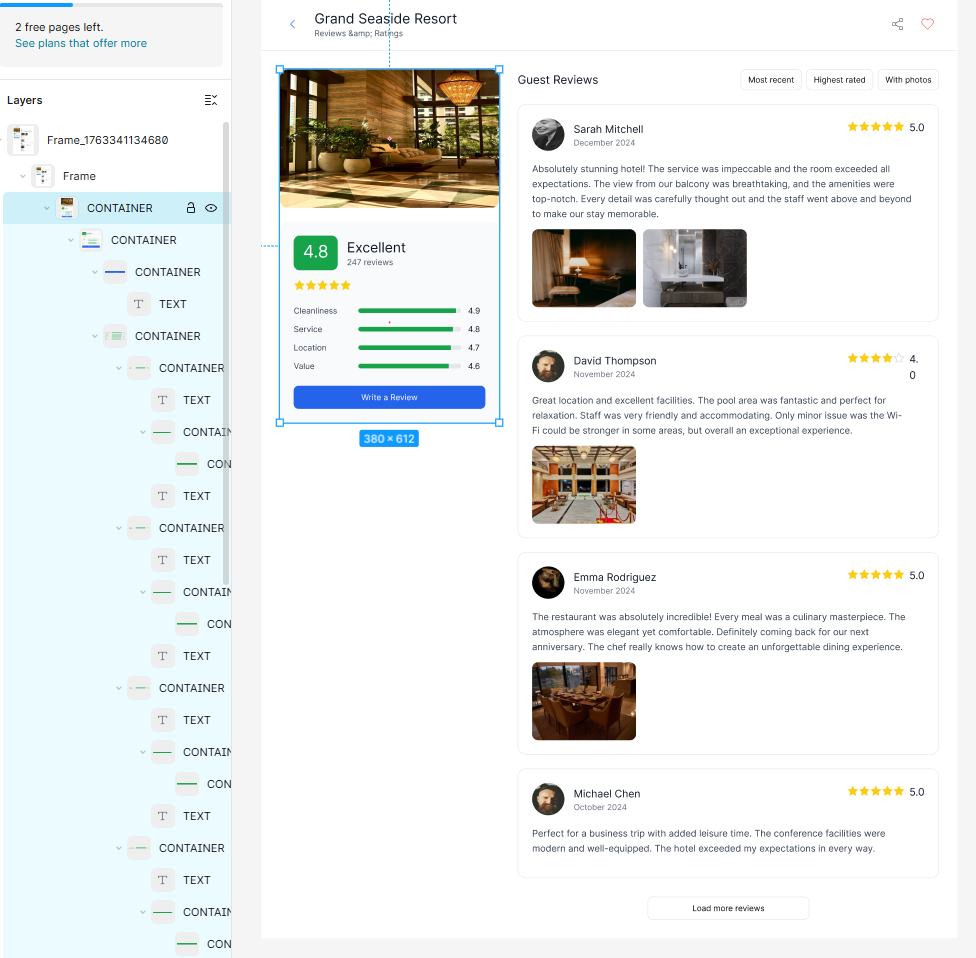
**使用左側的 Figma 圖層面板選擇確切的區域.**
即使層嵌套,這也可確保您選擇正確的組件或容器.
### 推薦方法(特別適合初學者):
**使用左側的 Figma 圖層面板選擇確切的區域.**
即使層嵌套,這也可確保您選擇正確的組件或容器.
 ***
## 4. 描述您要在所選區域更新的內容
鍵入一個簡短的提示,描述您希望如何重新設計所選區域.\
只有所選區域才會更新 - 頁面的其餘部分保持不變.
提示示例:
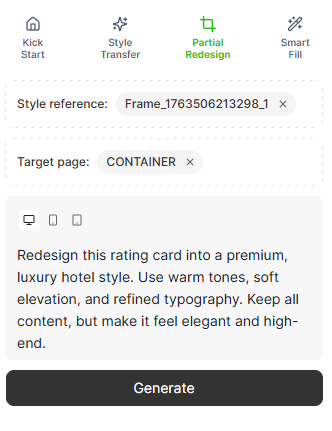
> "將這張評級Card重新設計成高級,豪華酒店style.\
> 使用暖色調,柔和的立面和精緻的版式.保留所有內容,但要讓它感覺優雅和高端."
***
## 4. 描述您要在所選區域更新的內容
鍵入一個簡短的提示,描述您希望如何重新設計所選區域.\
只有所選區域才會更新 - 頁面的其餘部分保持不變.
提示示例:
> "將這張評級Card重新設計成高級,豪華酒店style.\
> 使用暖色調,柔和的立面和精緻的版式.保留所有內容,但要讓它感覺優雅和高端."
 ***
## 5. 生成並審查重新設計的預覽
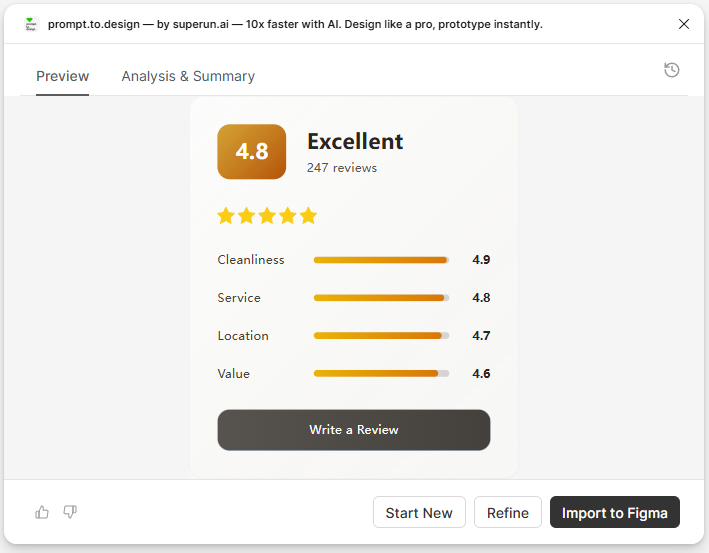
單擊"**生成**"以創建所選區域的新變體.\
預覽將display與Frame現有樣式系統相匹配的新設計.
您可以滾動或縮放來比較不同的版本.
***
## 5. 生成並審查重新設計的預覽
單擊"**生成**"以創建所選區域的新變體.\
預覽將display與Frame現有樣式系統相匹配的新設計.
您可以滾動或縮放來比較不同的版本.
 ***
## 6. 將重新設計的區域插入 Figma
點擊 **Insert to Figma** 以應用新版本.\
只有選定的區域將被替換 - Frame的其餘部分將保持完全相同.
更新後的區域將display為完全可編輯的 Figma 圖層.
***
## 6. 將重新設計的區域插入 Figma
點擊 **Insert to Figma** 以應用新版本.\
只有選定的區域將被替換 - Frame的其餘部分將保持完全相同.
更新後的區域將display為完全可編輯的 Figma 圖層.
 ***
## 概括
通過部分重新設計,您可以:
* 只更新頁面的一部分,而不影響其餘部分
* 快速探索多種設計變體
* 保持頁面結構和間距不變
* 在整個佈局中保持style一致性
* 將所有生成的輸出編輯為原生 Figma 圖層
區域重新設計非常適合改進Card片,部分,模塊或頁面中需要煥然一新的外觀的任何部分.
***
## 概括
通過部分重新設計,您可以:
* 只更新頁面的一部分,而不影響其餘部分
* 快速探索多種設計變體
* 保持頁面結構和間距不變
* 在整個佈局中保持style一致性
* 將所有生成的輸出編輯為原生 Figma 圖層
區域重新設計非常適合改進Card片,部分,模塊或頁面中需要煥然一新的外觀的任何部分.